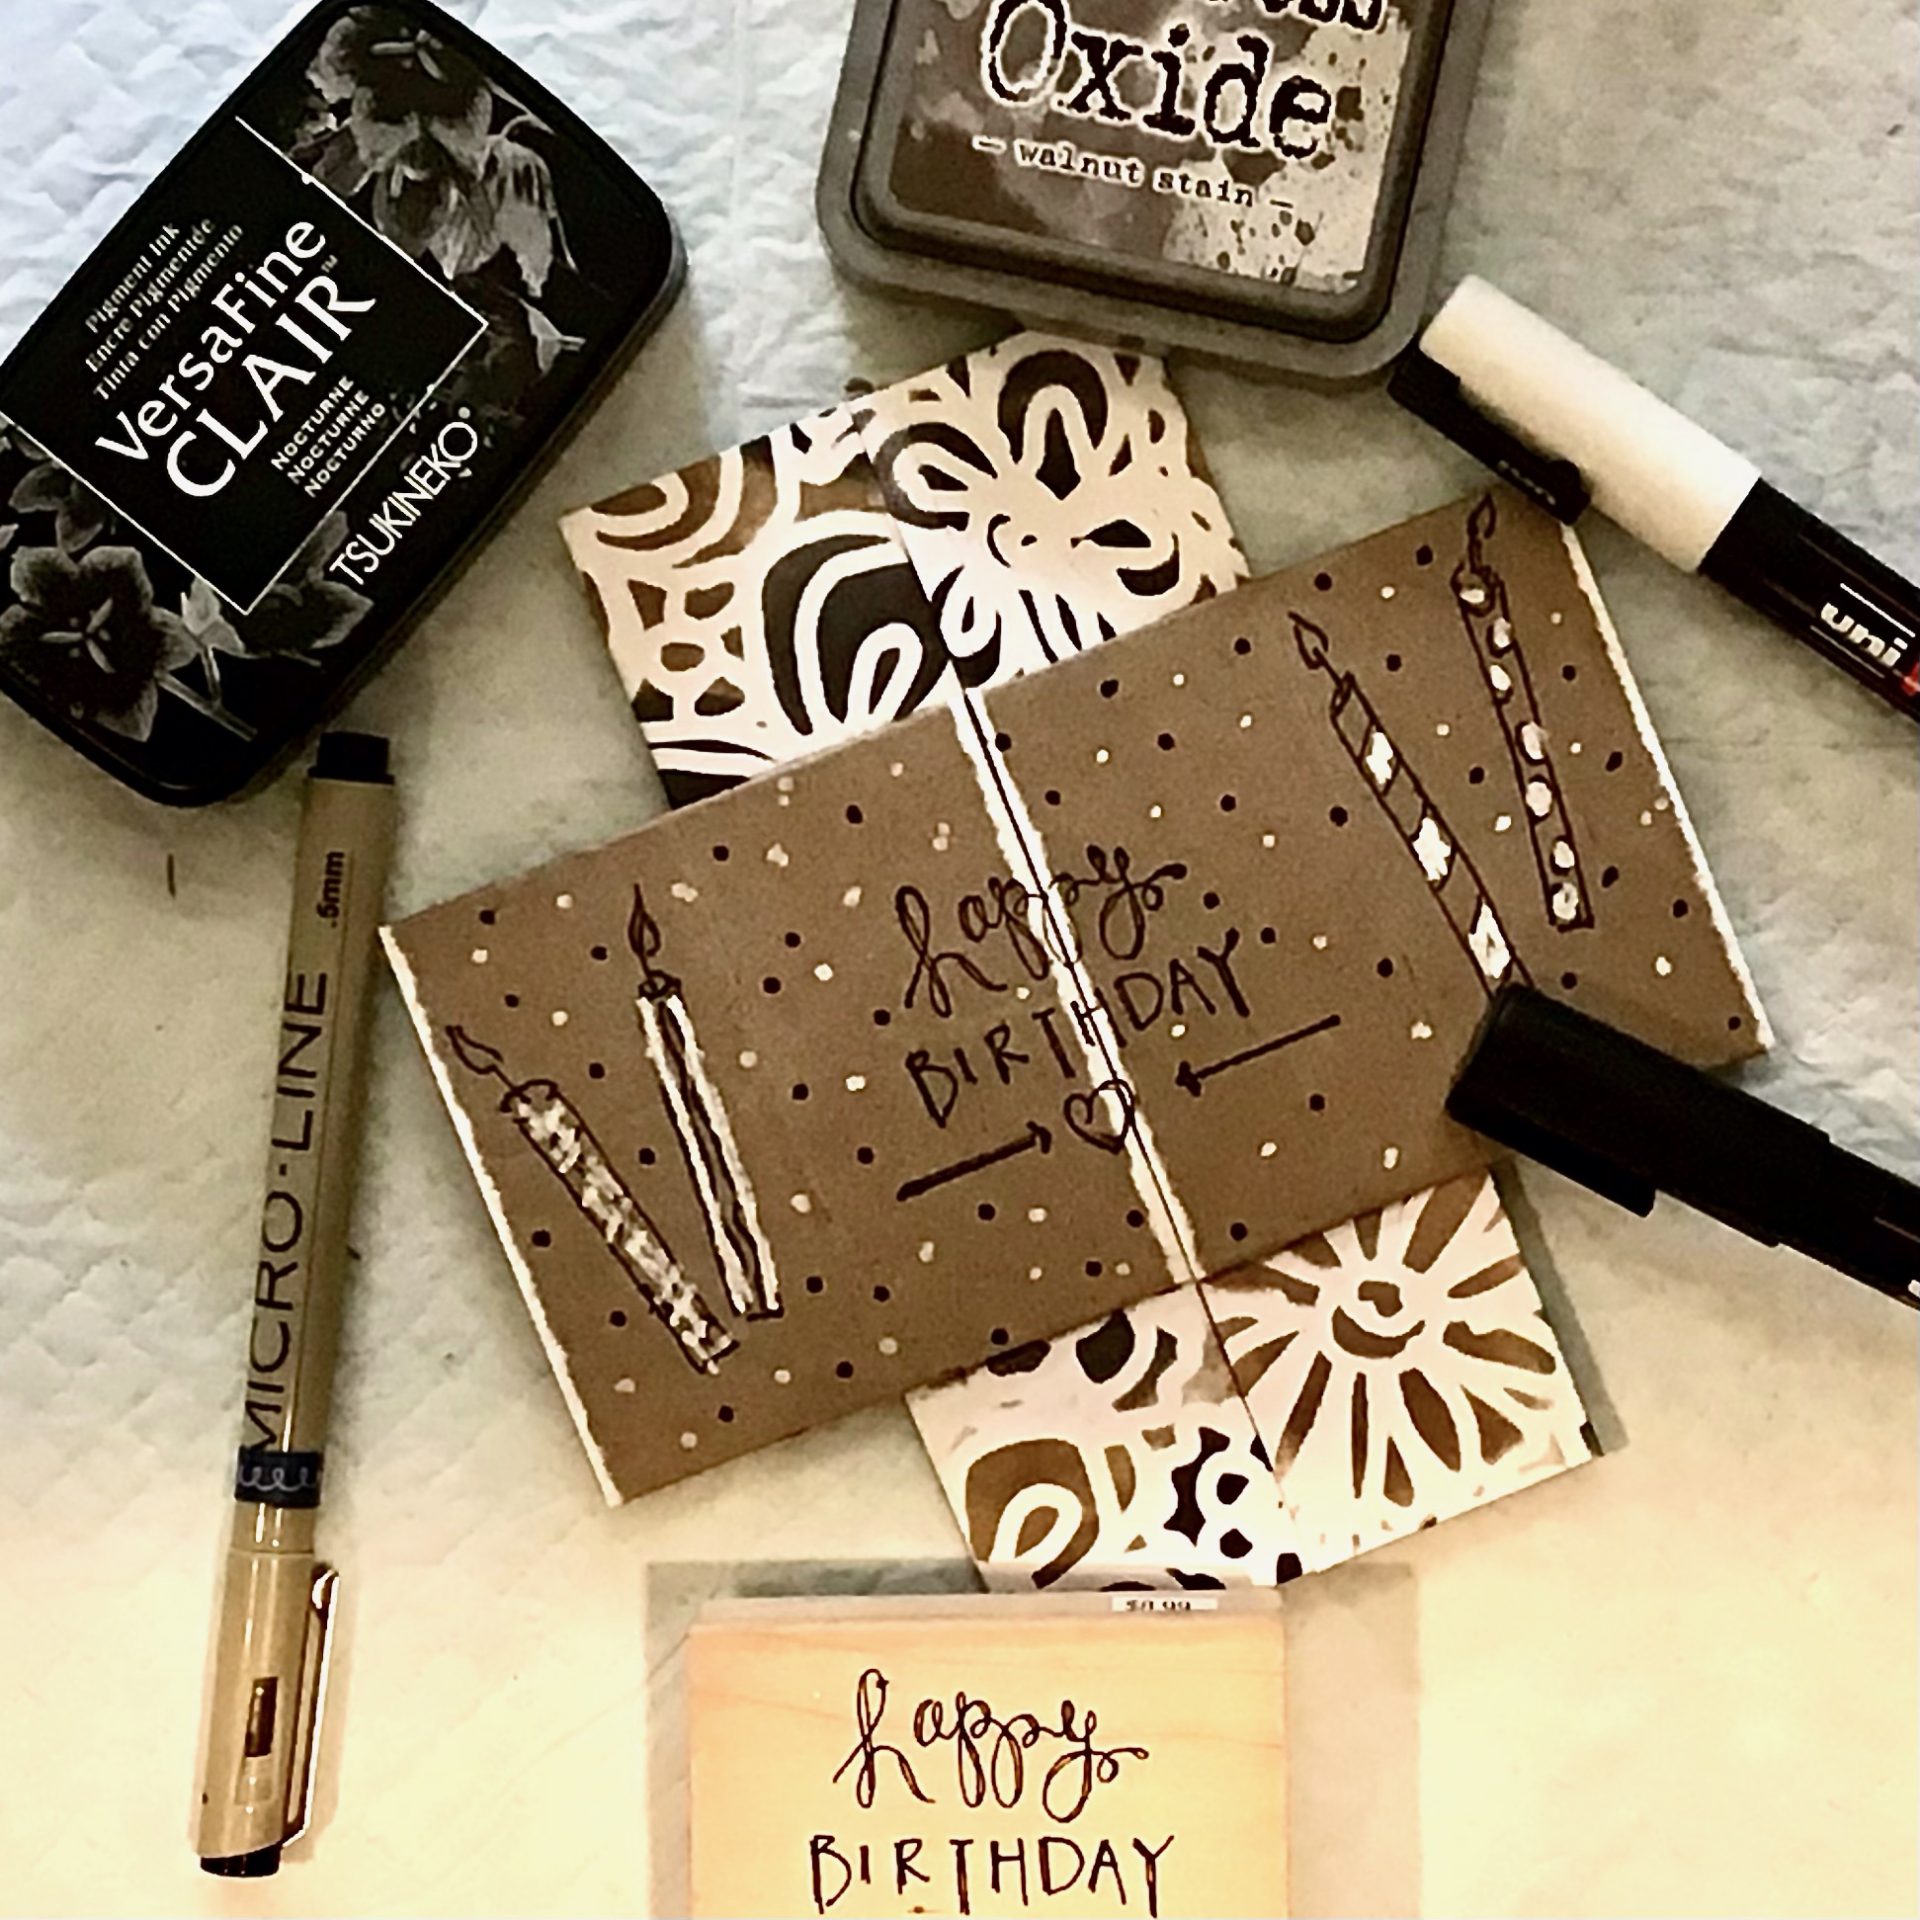
One of my creative friends has a birthday coming up.
I try to use/re-use supplies in the studio and I want to be creative when presenting gifts. I have found that you don’t always have to create the actual gift, but the wrapping and card can be where you express your creativity.
Basic Instructions:
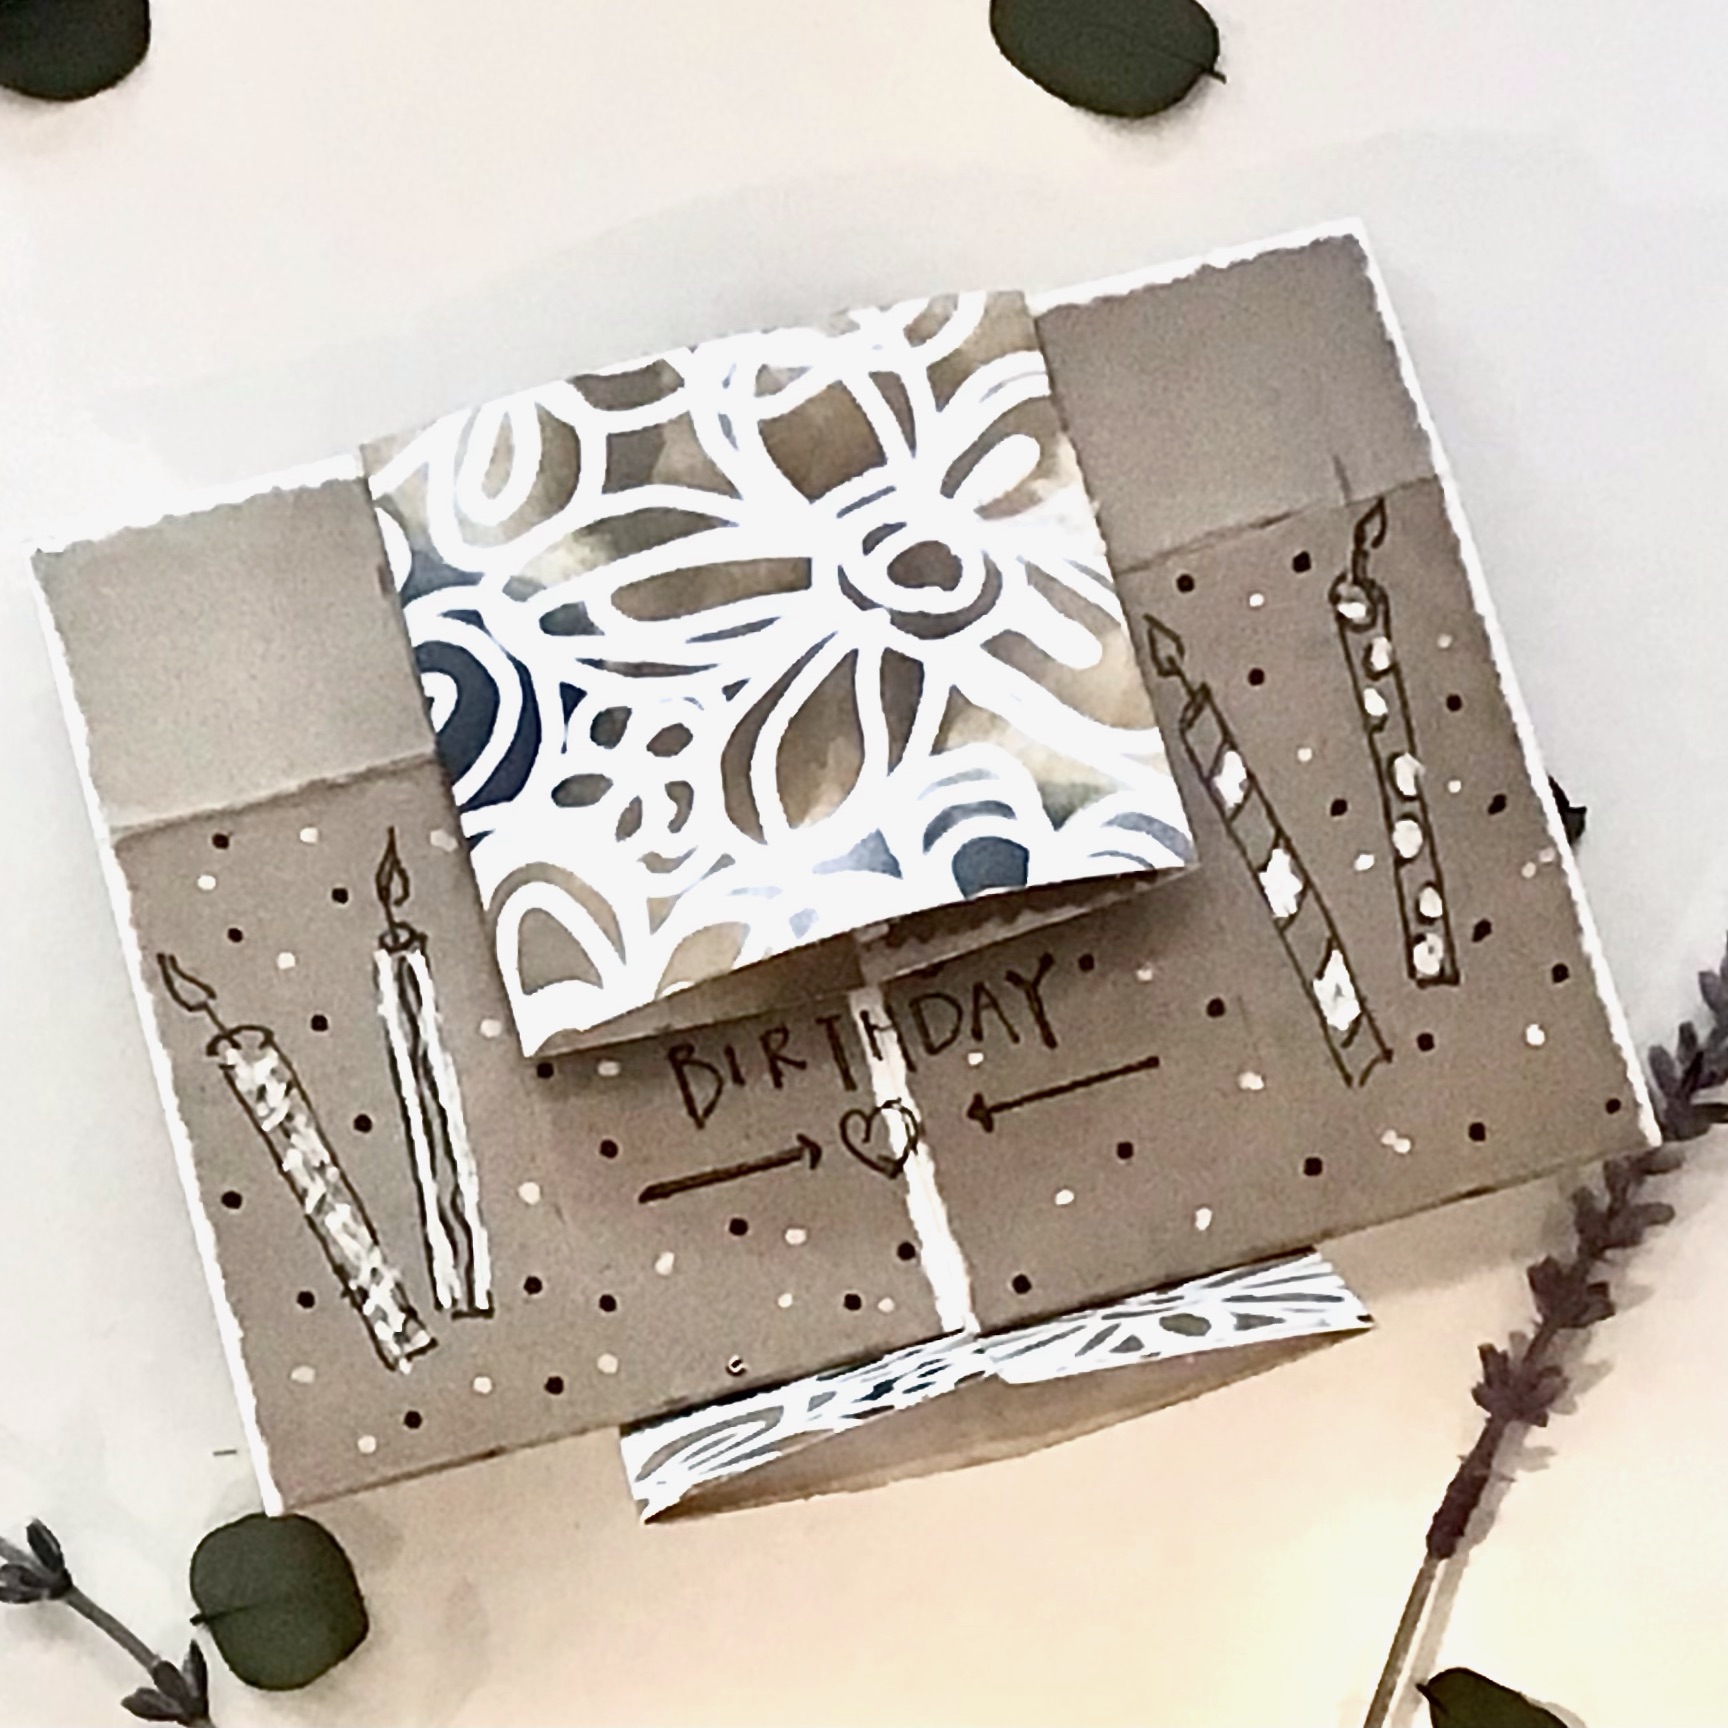
For the Card: Using a ruler or other straight edge, cut 4 pieces of cardstock into 3″ x 6″ pieces (it is important that your pieces are as close in size as possible)
Score each piece down the 3″ length at 1 1/2″ and 4 1/2″
Score each piece down the 6″ length at 1 1/2″
Lay two 3″ pieces together with the 6″ sides meeting horizontally and apply a piece of tape that you have made less sticky by pressing it to your clothes or work surface before placing on the cardstock. There will be a 1 1/2″ x 1 1/2″ “scored square at each 2 upper and lower corners of the now 6″ x 6´ square you have pieced together. Apply glue to those four 1 1/2” squares.
Adhere the other two 3″ x 6″ pieces vertically to your horizontal 6″ x 6″ base.
Follow the video to gently open and press each fold at the score marks.
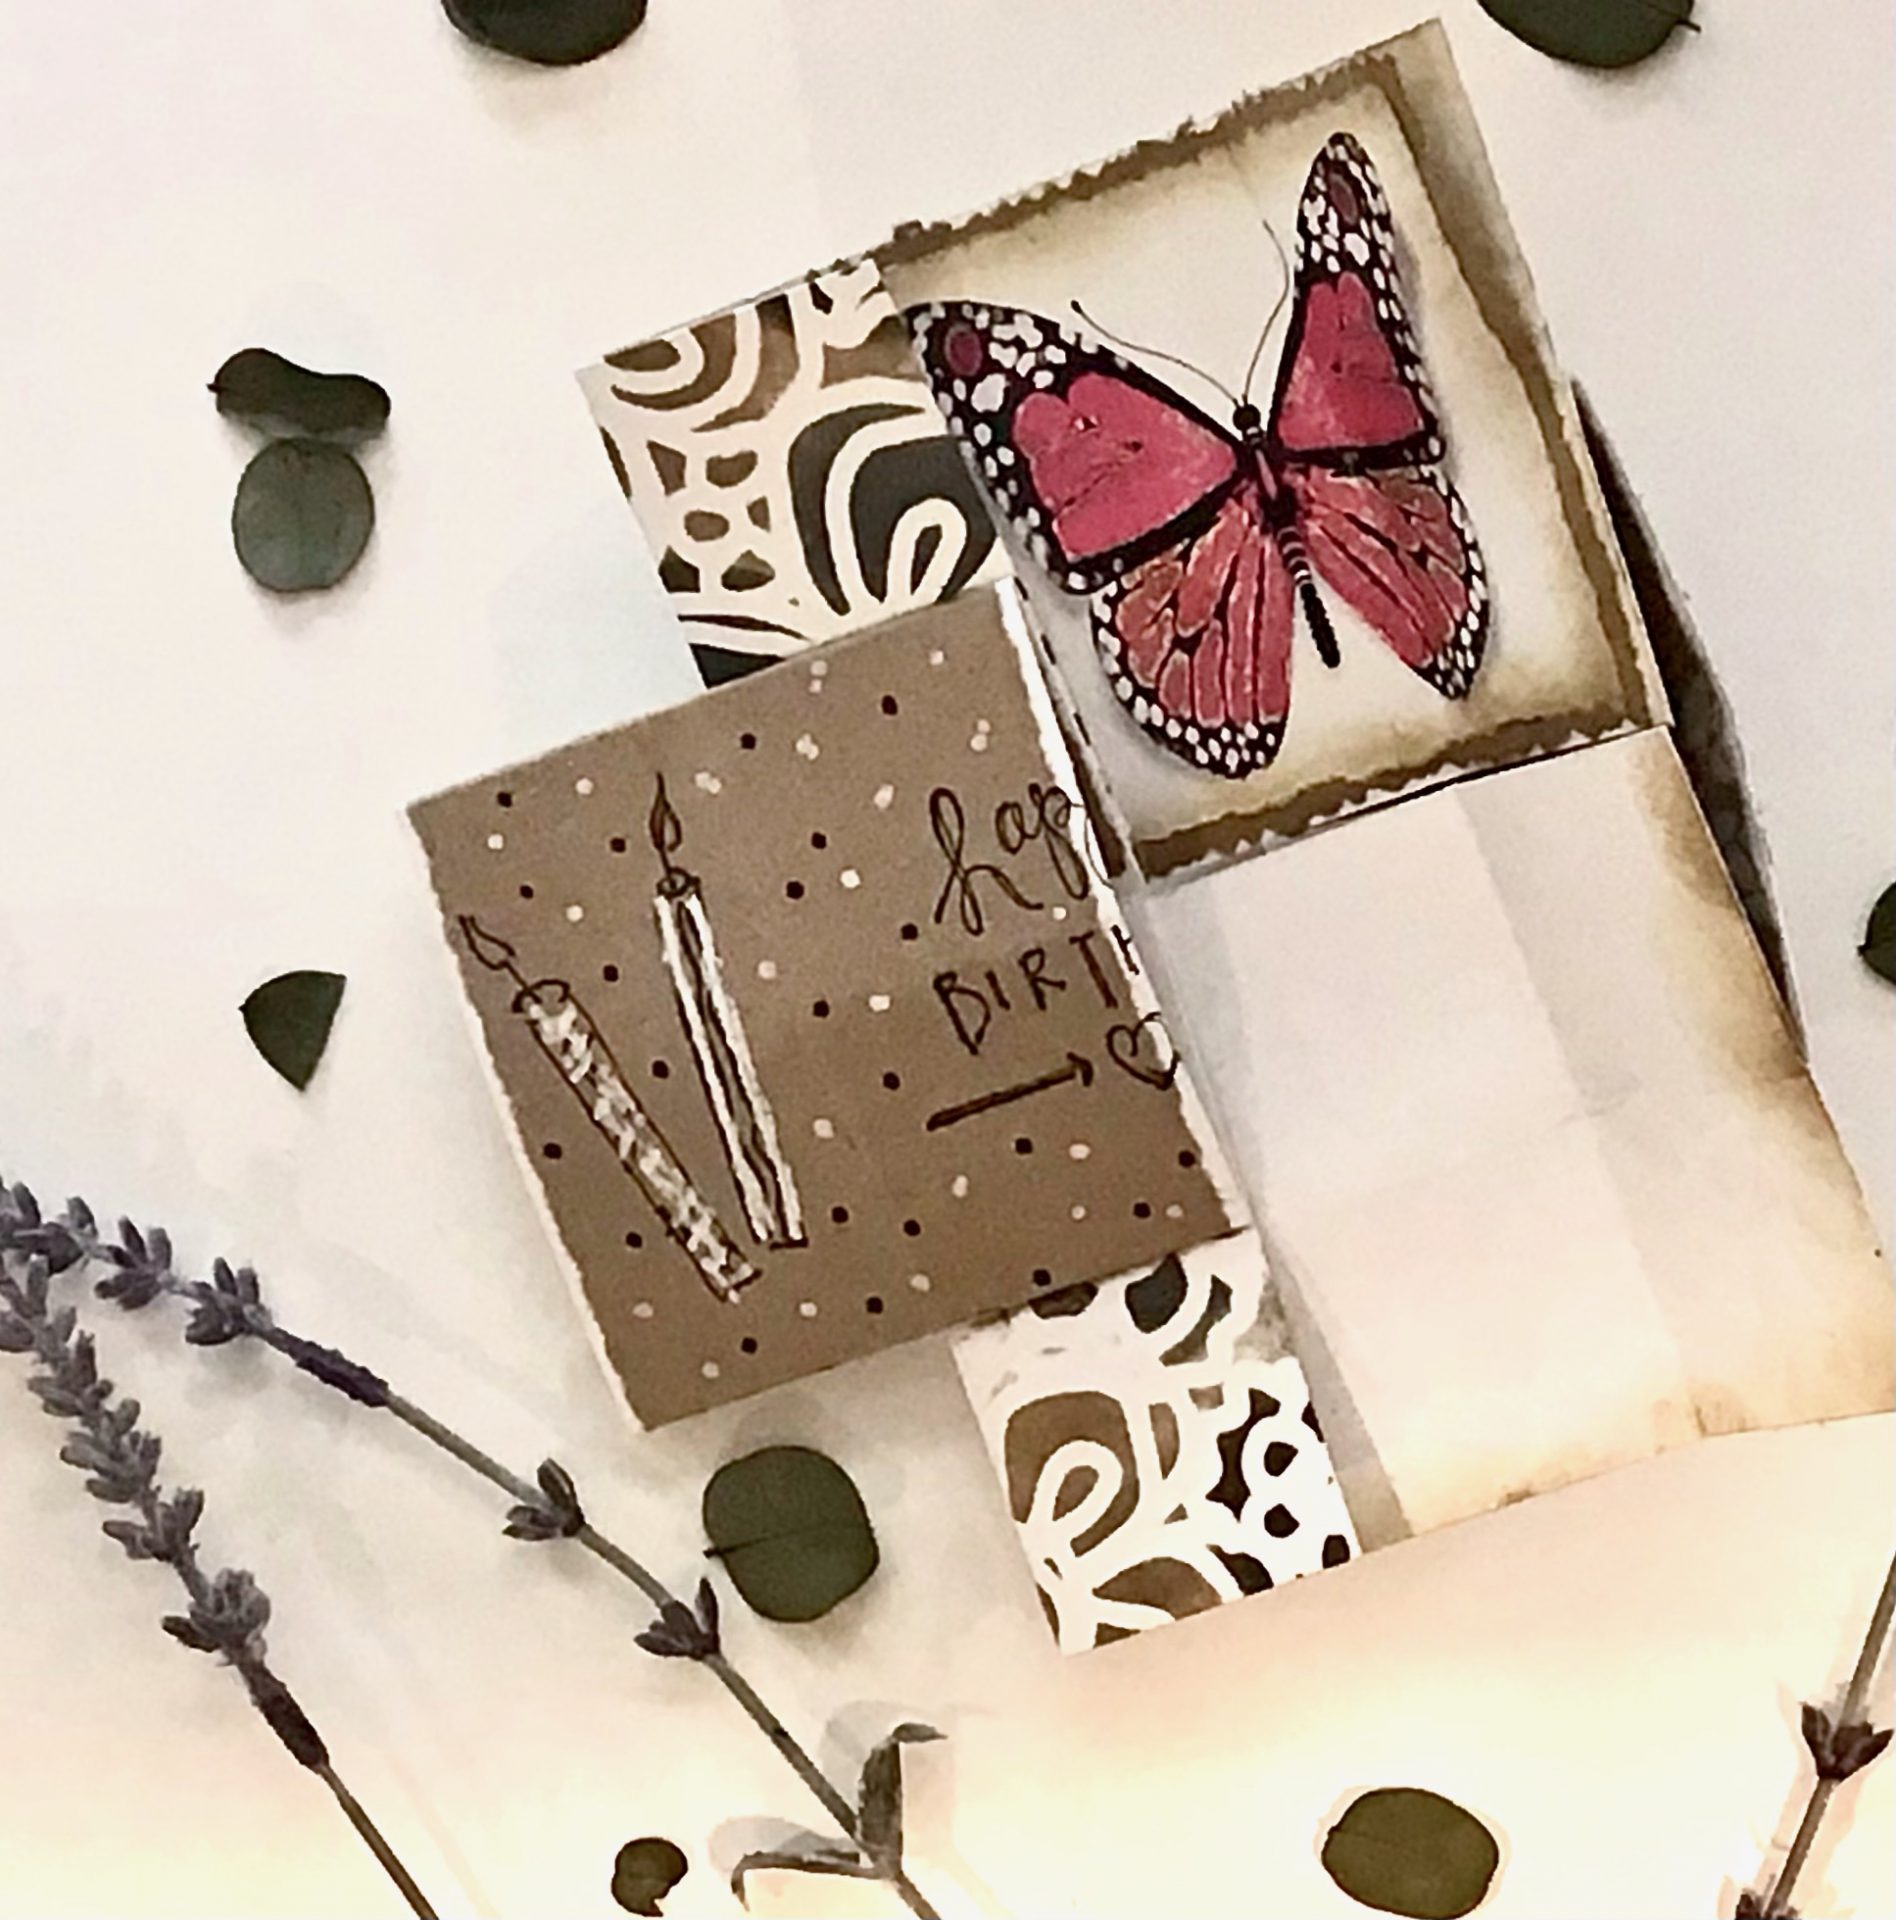
You can now embellish each of the “four” parts of your infinity card. It is important to always know which direction any previously embellished cards are so that you do not create anything that could be folded into place upside down. (Note: if you are looking at the front of the card and just turn it over to see the back, those 2 pieces are opposite of how they will appear when the card is executed thru the folds.
Be ready to make some mistakes. I made a couple of test runs with tape before I committed to the glue.
That being said – I walked my 9-year-old granddaughter thru the process and she nailed it! And she also couldn’t put it down once it was complete and continued to “fiddle/fold” thru it.
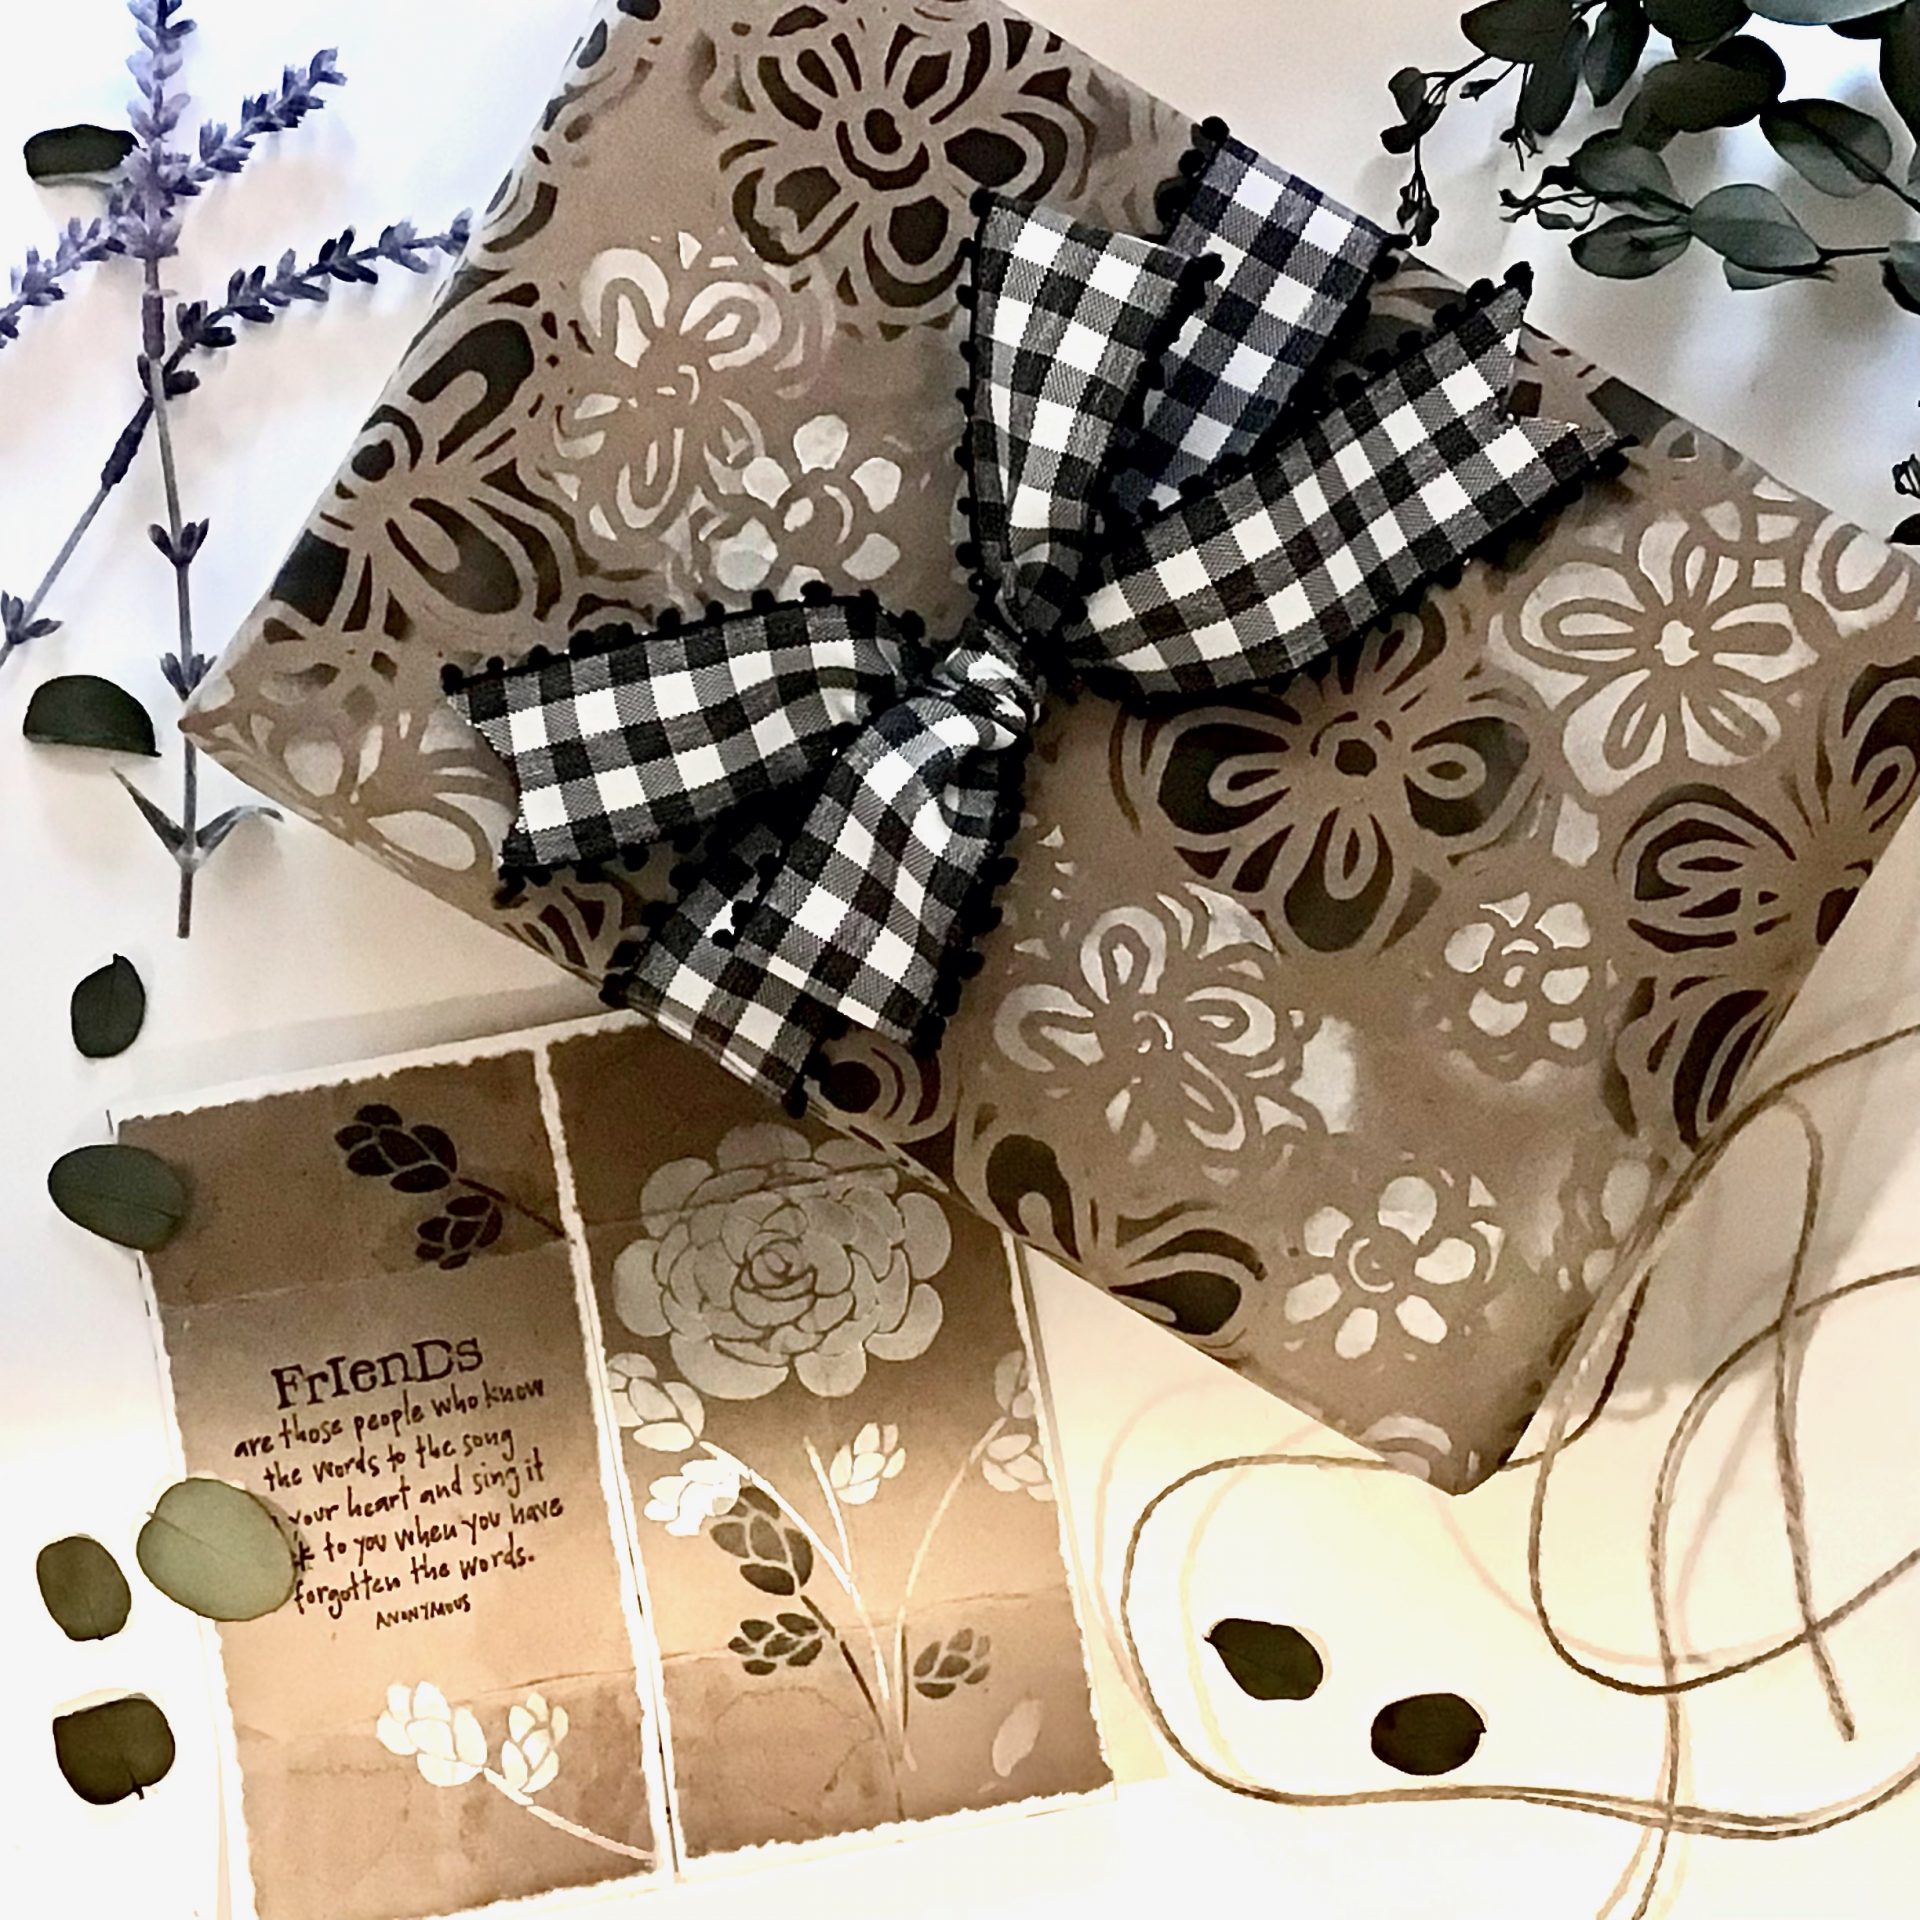
For the Wrapping Paper: Pick any size of opaque paper, honestly, this was paper was the packing inside something I ordered – use an iron on low heat to press out most of the wrinkles.
I love using the large stencils that Shawn has for this process. Make-up sponges from the dollar store are great for stenciling. I find that flipping the stencil over (after cleaning) makes for a more random, yet continuous pattern.
Place the stencil on the flat paper and use a stamp ink pad (you could also use acrylic paint, it just doesn’t dry as quickly) to transfer the image to the paper. Continue until you have covered the entire piece of paper.
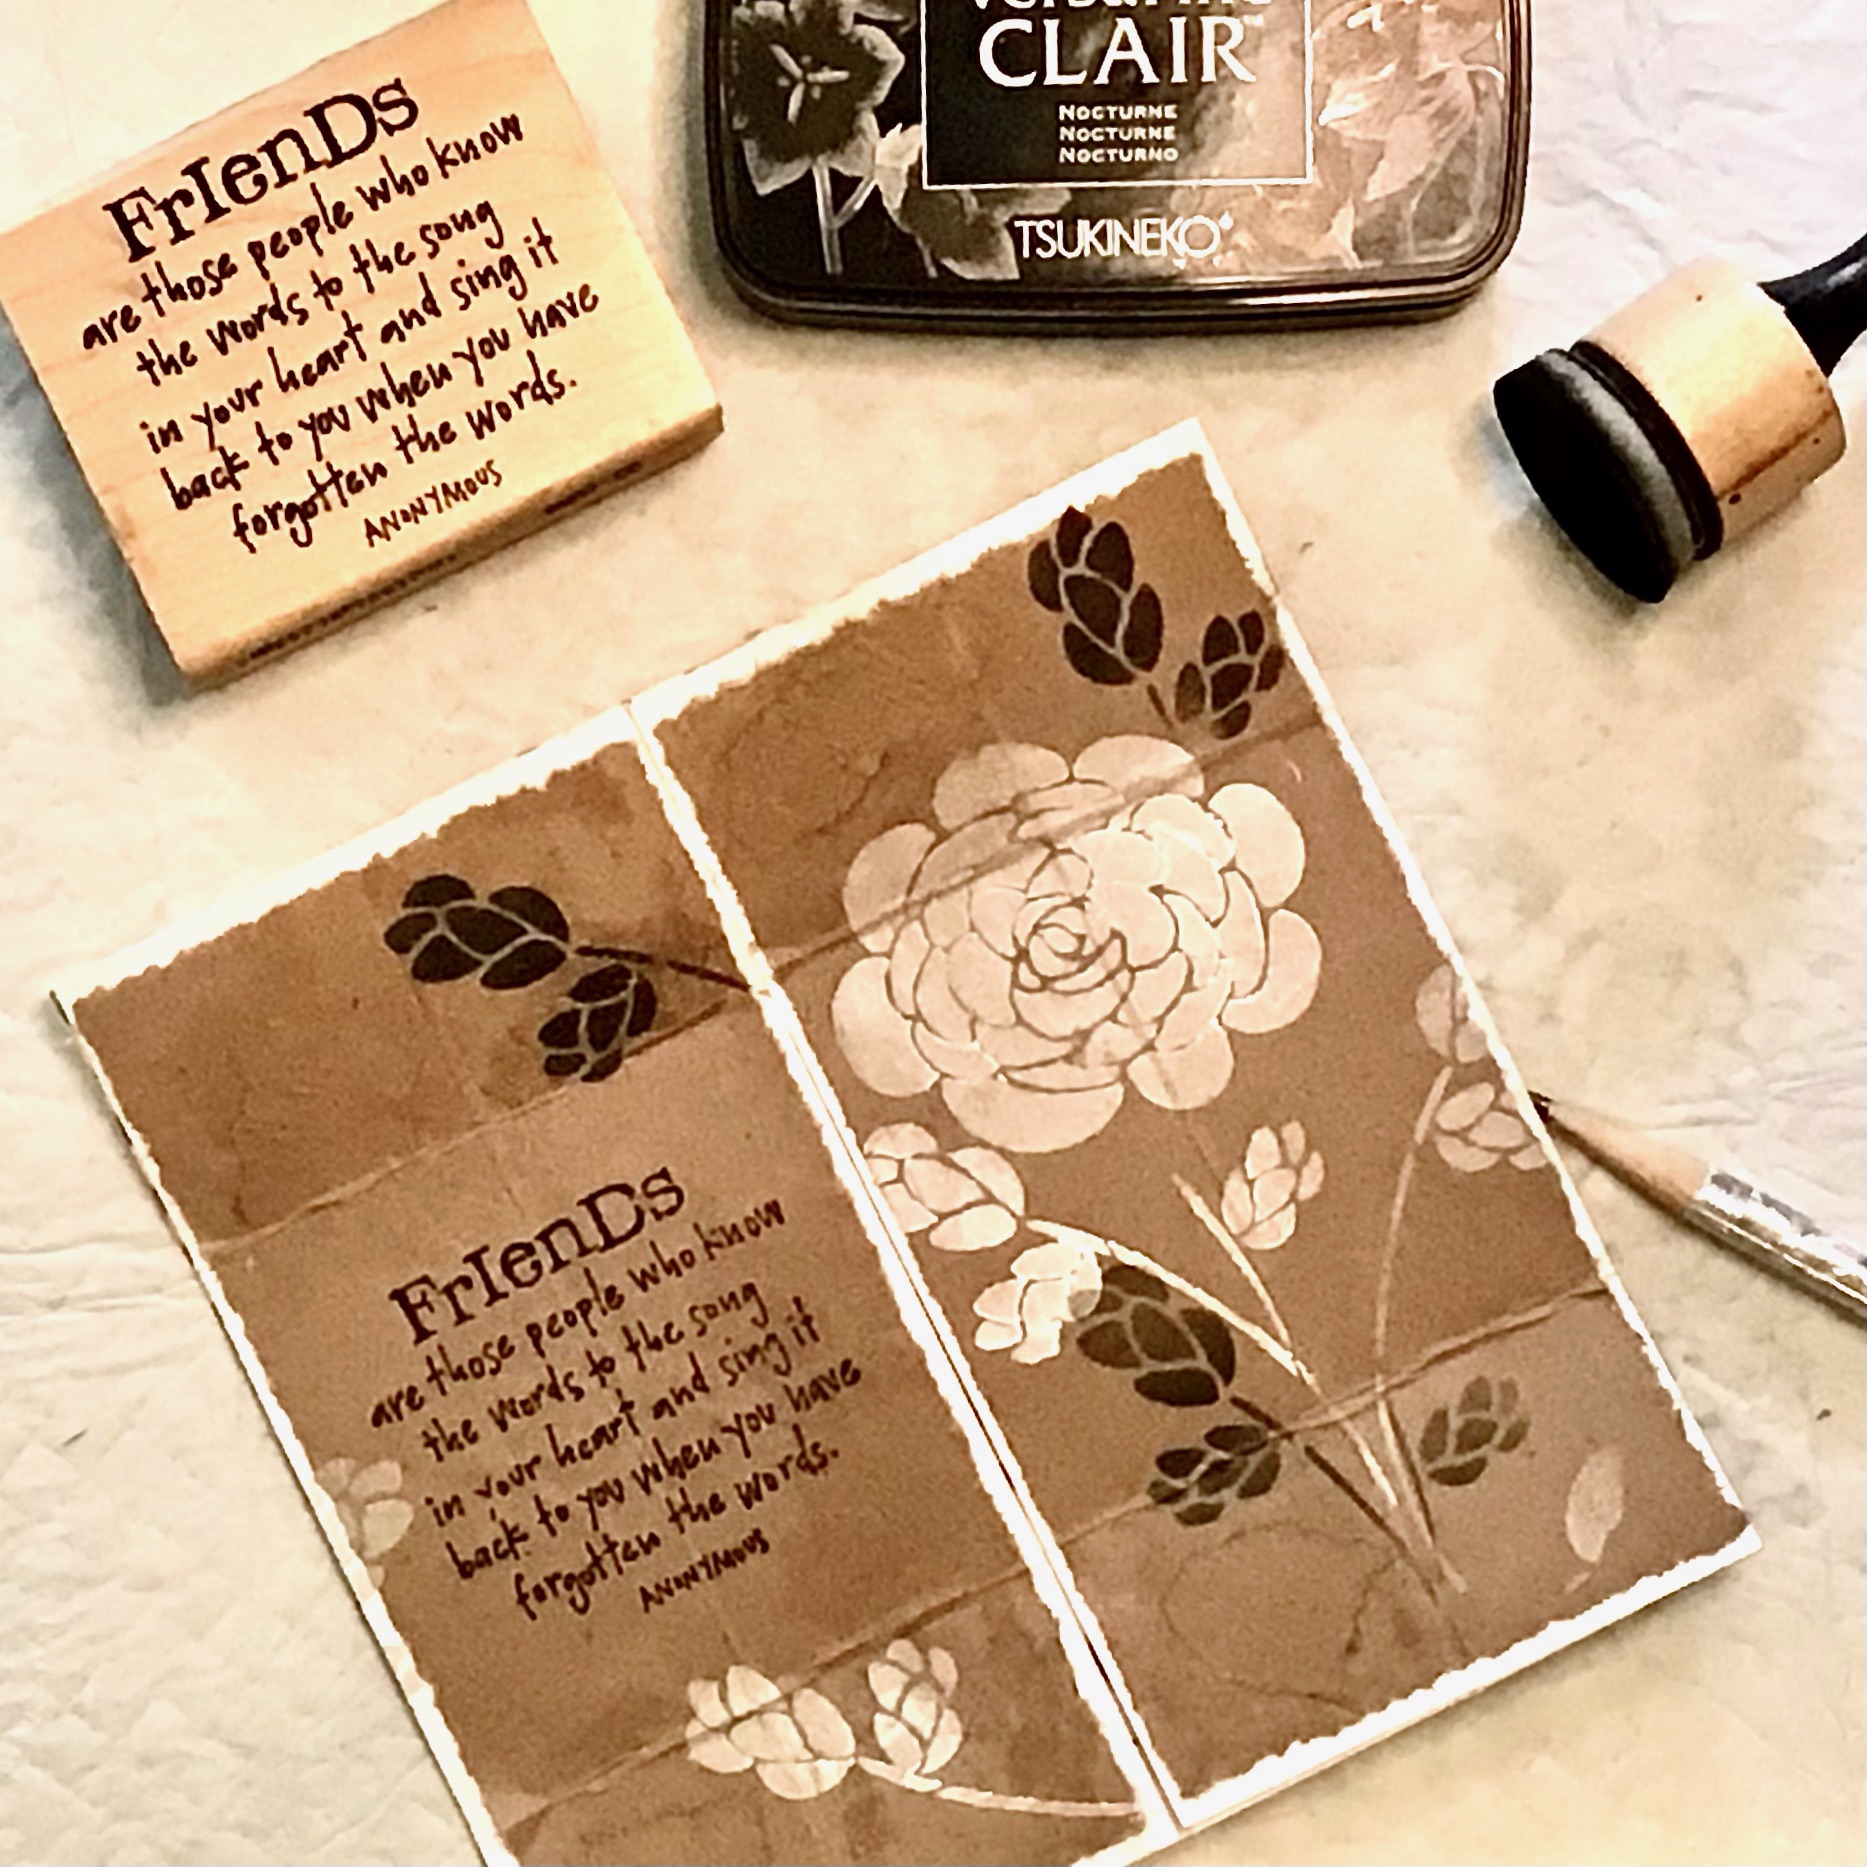
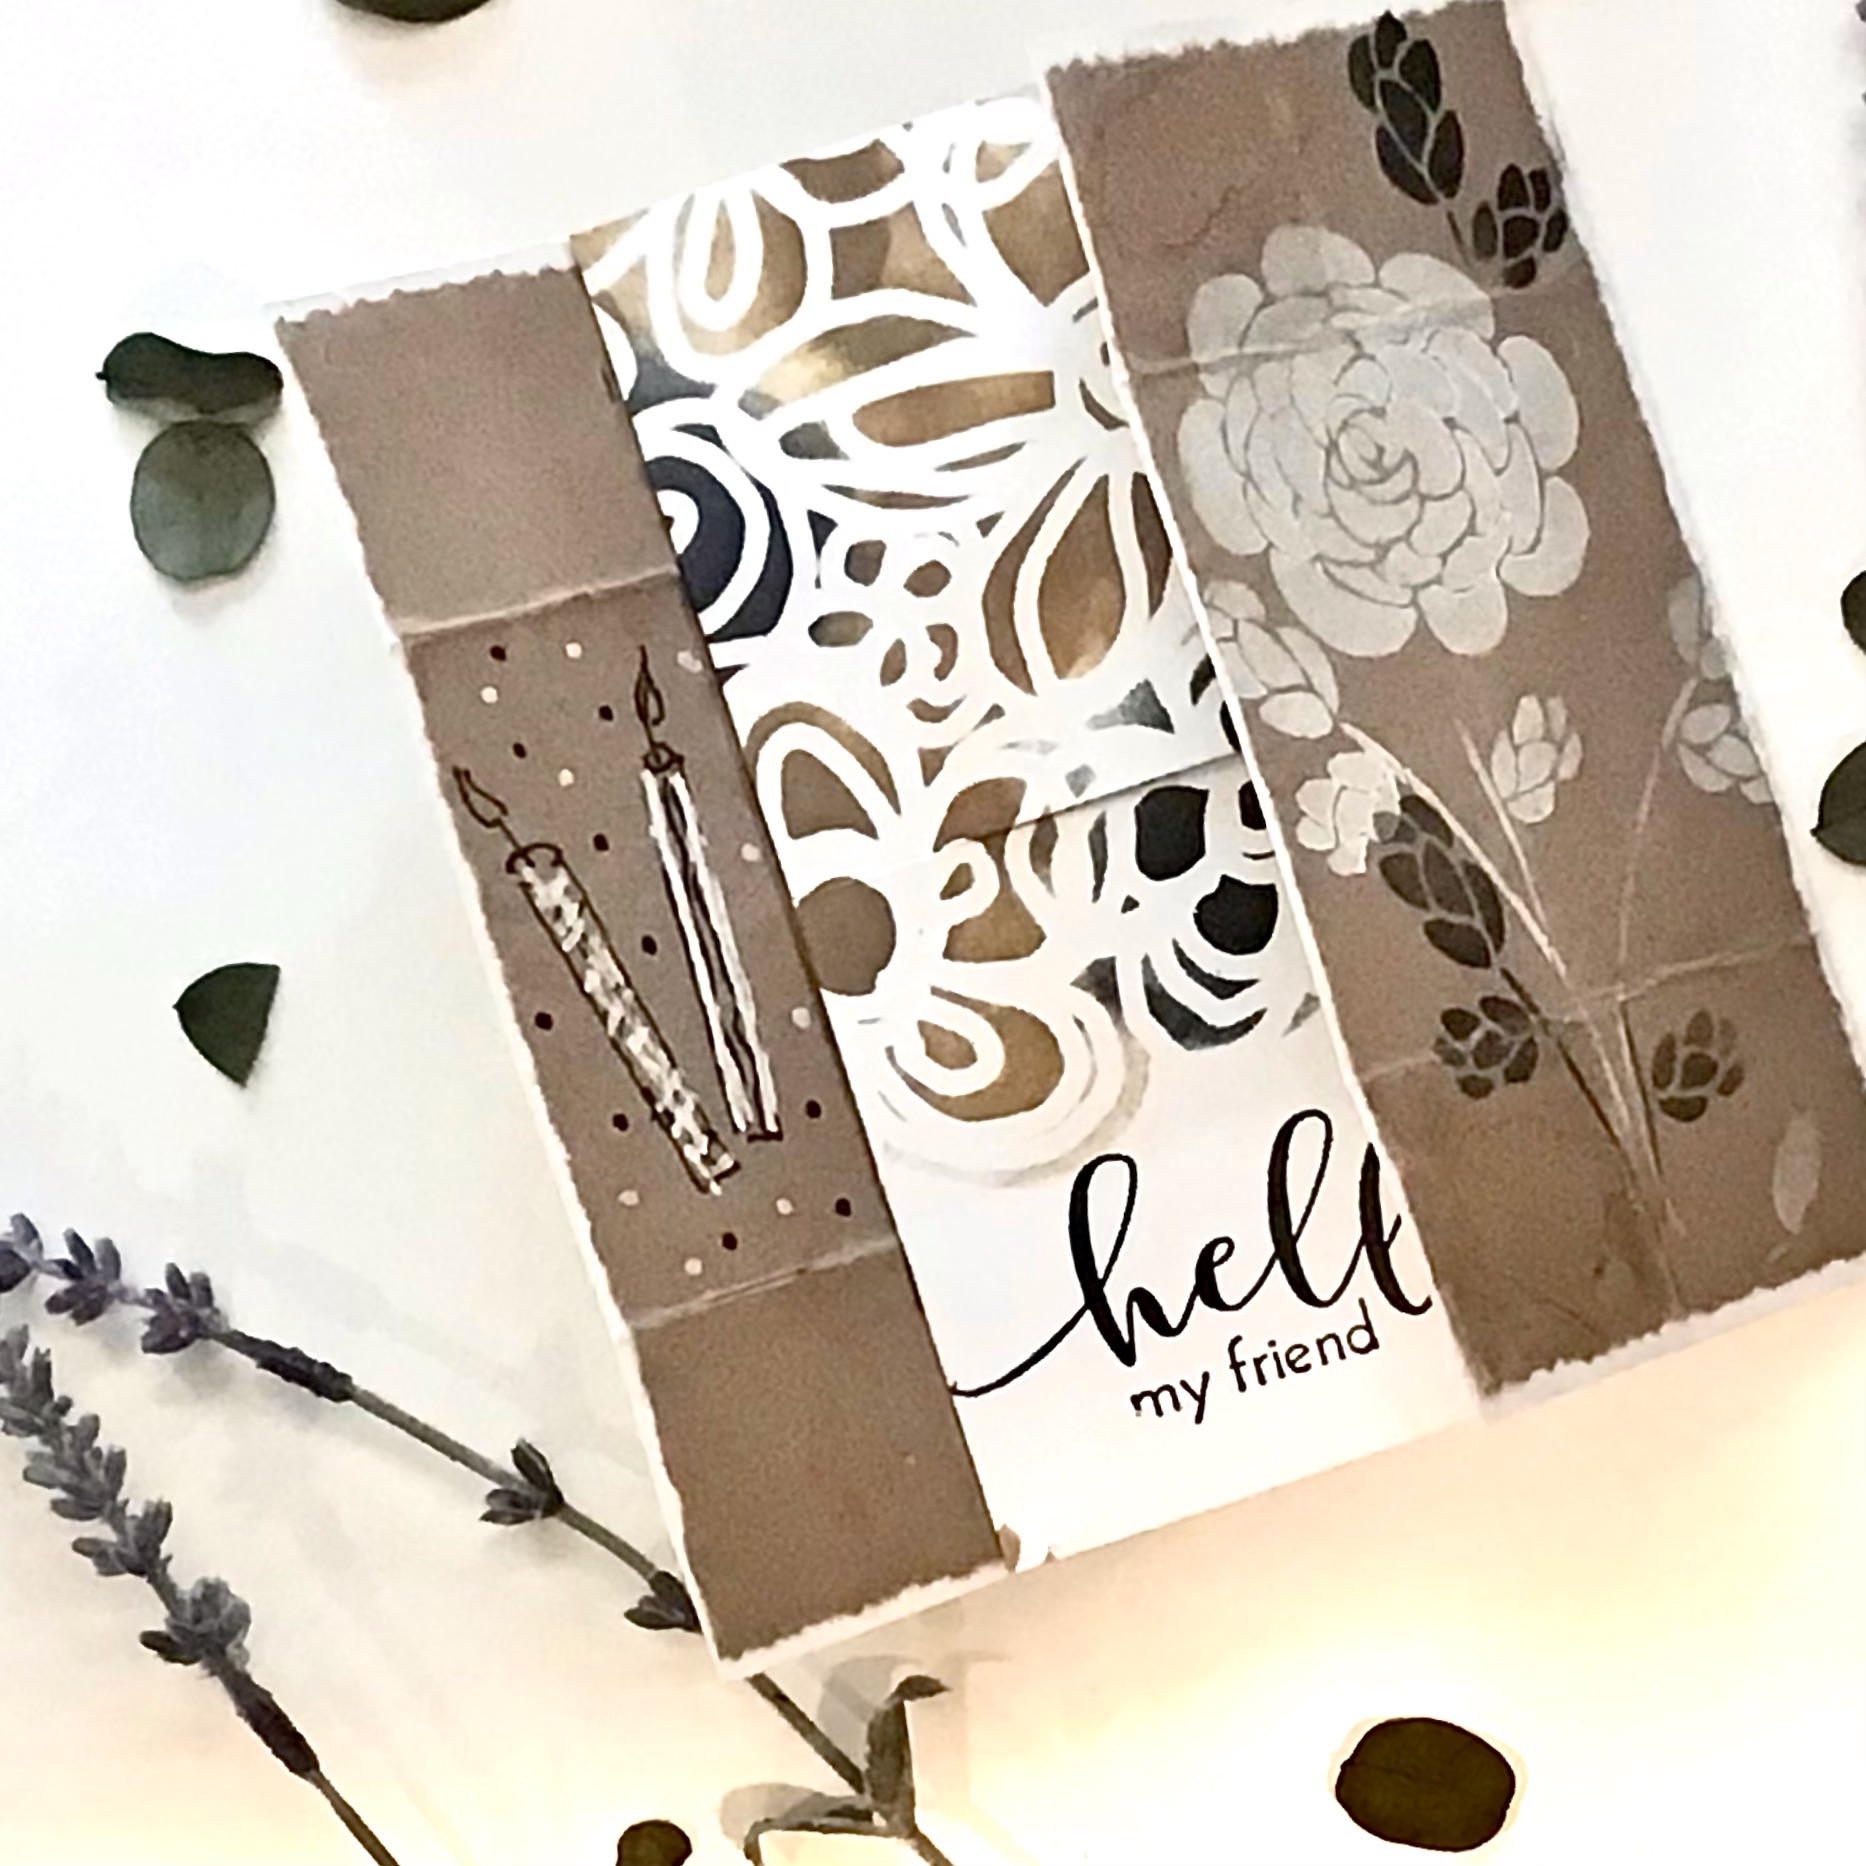
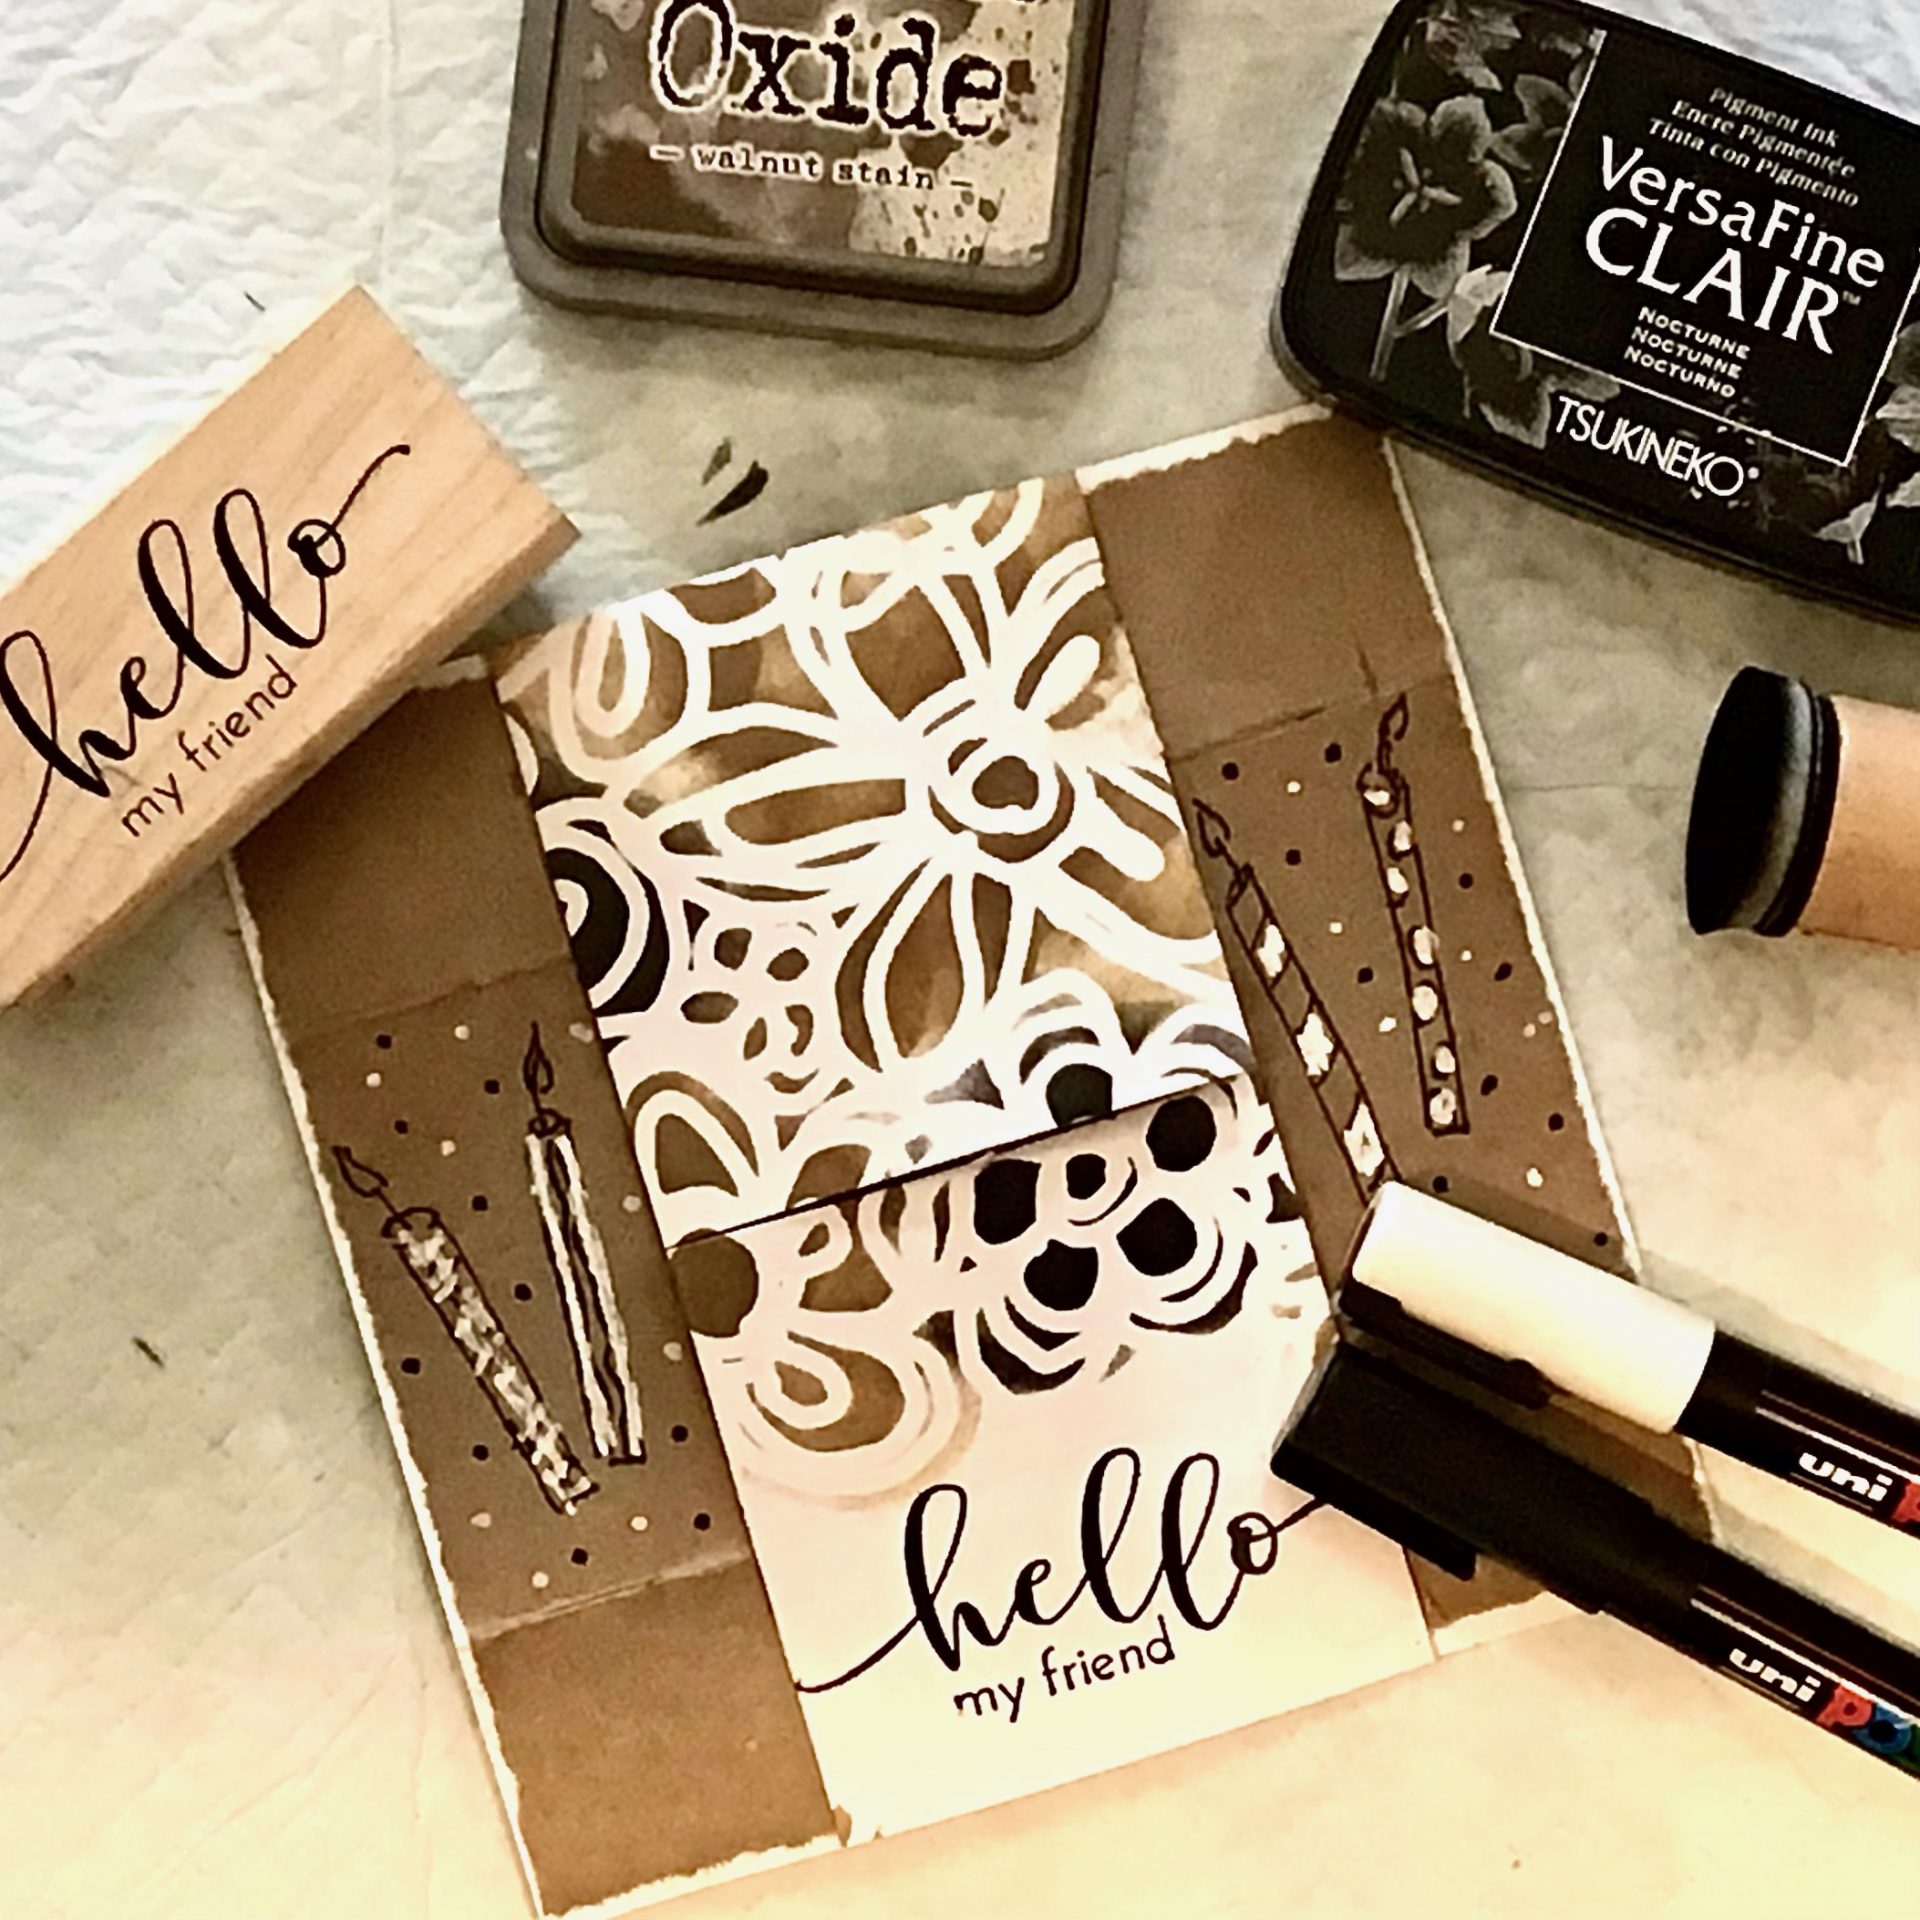
Products used:
Shawn Petite Stencils: Flower Scribbles 1, Bouquet Of Flowers 1
Shawn Petite Collage Pack: “Create the Life you want” Printed Version and Instant Download
Other supplies: 65 lb White cardstock, Kraft Paper, We R Memories Tearing Guide &
Ruler, Cricut Scoring Tool, Uni-ball Posca Marker Pens in Black and White
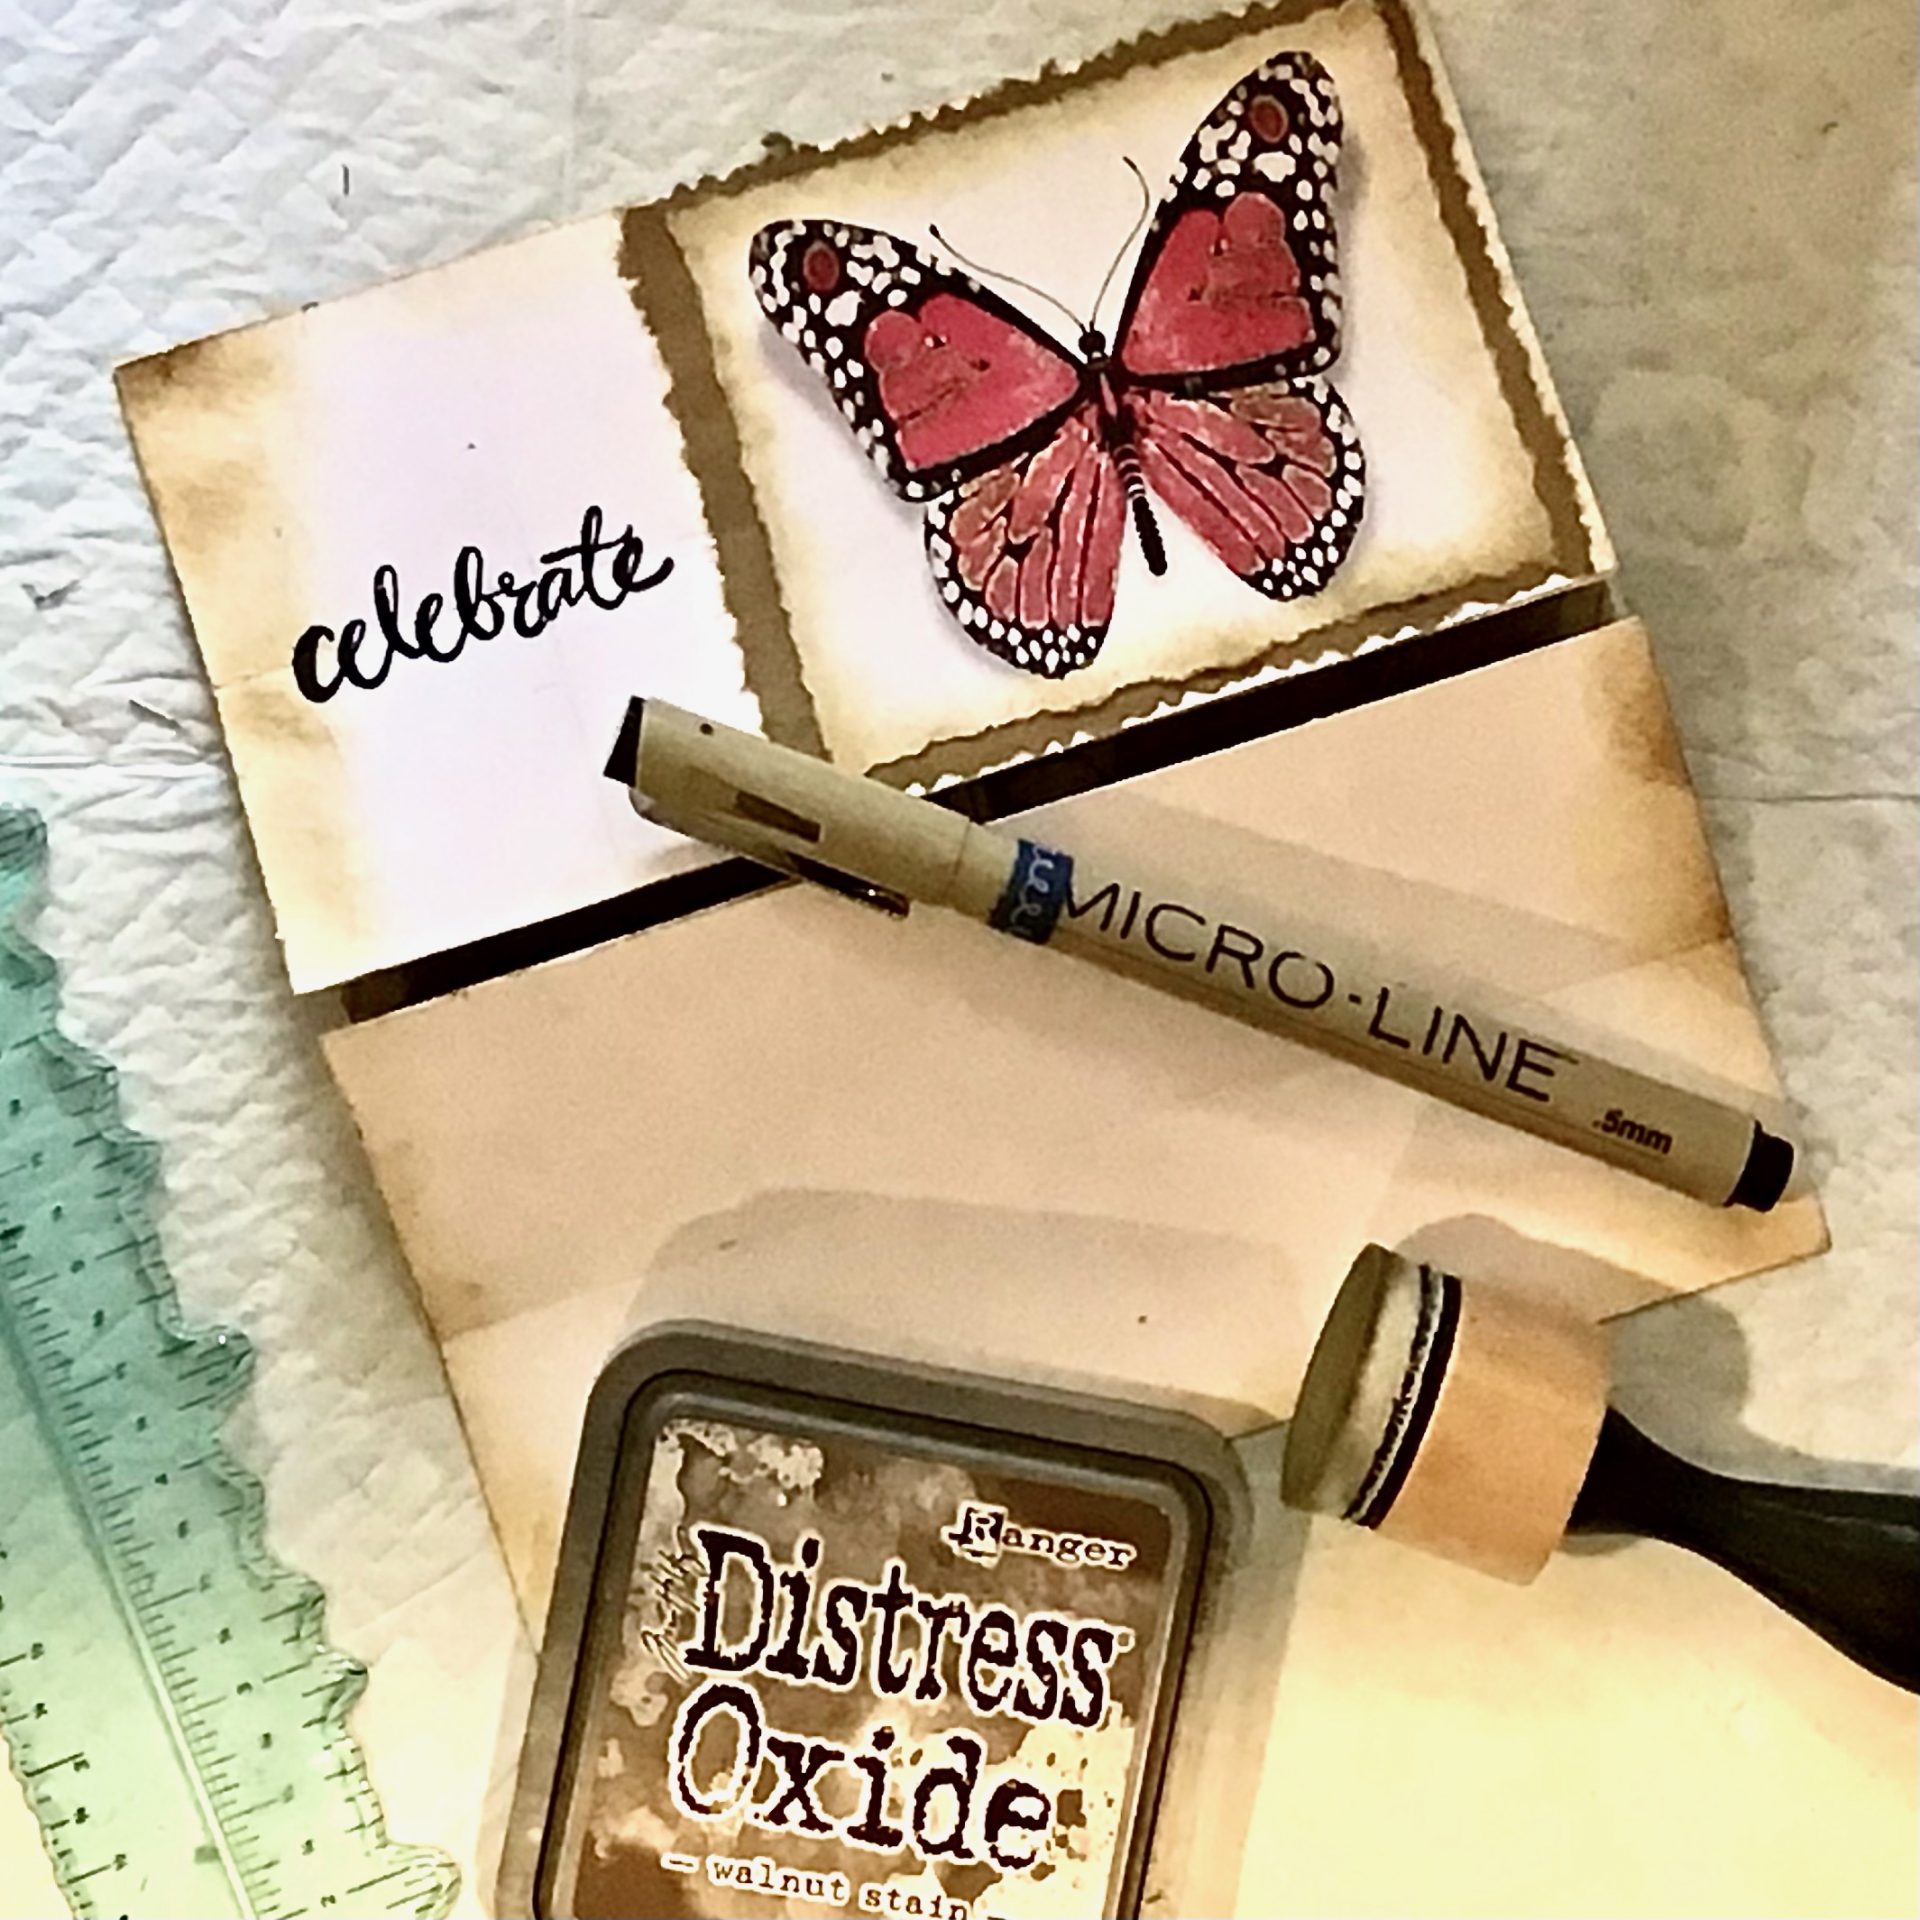
Sakura Pigma Micron Black Pen, Tsukineko VersaFine Clair Ink
Pad-Nocturne, Ranger Tim Holtz Distress Oxide Ink Pad-Walnut Stain,
Brilliance Pigment, Ink- Moonlight White, Fabri-Tac Adhesive & Amazon
This post contains affiliate links from Amazon and Blick at no cost to you.

Instagram: https://www.instagram.com/rrbarber62/
https://www.instagram.com/chestnutgrovestudios/
@ChestnutGroveStudios
Facebook: https://www.facebook.com/robyn.barber.35/ https://www.facebook.com/chestnutgrovestudios
Blog: https://www.chestnutgrovestudios.com/blog
Website: Visual Art + Bluegrass & Folk Instruments | Chestnut Grove Studios
Be inspired, create, and know that you are loved!
Shawn Petite is a participant in the Amazon Services LLC Associates Program, an affiliate advertising
program designed to provide a means

for sites to earn advertising fees by advertising and linking to amazon.com







0 Comments